Showing posts with label 1:6 scale project. Show all posts

Tuesday, March 18, 2014

Spring windows at LaBelle's....

Spring has come to Barbietown, as well as the windows at LaBelle's, even if it is still sleeting and snowing here. I have worked on the windows of LaBelle's , re-staging them and going thru accessories and props. Here is a little foretaste of what's to come in Barbietown at LaBelle's. 


Staging credits:
Green hutch & table- La Principessa, vintage Italian doll furniture from Ebay
yellow & pink dresses- ITBE Seasons 2012?
Chandeliers, pink , black and white zebra purse- Christmas ornaments
Porcelain, Ruetter Porcelain, shopping bags, Japanese figures, Re-ment
Purse hanging on yellow dress mannequin- made & embroidered by me
Center Stage display- pink coat, black and white bag- Poppy Parker, pink, black and white striped hatbox Rement
Mirrors- Jim Coates Miniatures on Ebay

Monday, February 17, 2014

Tutorial: Faux Japanese 'Shoji' or sliding screens

Another entry today, but with a twist- I finished the one wall of the Japanese diorama I am working on, and I have pictures/and a rough tutorial on how I created the faux 'Shoji' or sliding screens in Japanese. These are the traditional doors with paper in the frames in traditional Japanese homes. I used the book Miss Happiness and Miss Flower by Rumor Godden because of its directions I bashed for my own purposes for this.

I at first thought of creating the Shoji so they really could slide open, or at the least hinging them like I did the French doors, but decided against that. I will have the back wall done by tomorrow afternoon I hope, so you can see a somewhat complete diorama.

First, I used black foamcore, and lots of balsa stripwood pieces, and one 1/2 inch wide stripwood piece to go across the top. I also used Golden Oak miniwax stain, as well as two sheets of 12 x 12 vellum scrapbook paper, as well as a 12 inch wide x 4 inch high wood grained contact paper.

First, I measured across the paper 


                                 Then I cut a piece of contact paper 12 inches wide by 
                                  4 inches high, and stuck that across the bottom onto the foamcore
                                 I taped down TWO pieces of 12 x 12 vellum scrapbook paper down 
                                   first.

Then I measured my balsa strips. The total height of the SHoji is 15 inches high, 12 inches wide. After all the strips were laid out, cut, measured, I then stained them with Golden Oak miniwax stain and let them dry.


I used regular tacky glue for this so I could adjust the strips. I used a ruler at the top to make sure the strips going down the middle were somewhat even. 

More gluing. It will look a little messy with the glue excess, but don't wipe, just let it dry naturally- it will dry clear.


I laid the remaining strips across and glued


I used a heavy book to add some weight and make it dry a little quickly. The book has over 900 pages and is the Autobiography of Henry Vlll as written by his fool, Will Somers by Margaret George. (highly recommend)

I used a 1/2 inch wood strip across the top of the door/shoji. That makes for a more defined focal point on the side wall.Below are photos of the finished faux Japanese door


 Ta da! I am really pleased with how this came out- it came out much much better than expected. I saved a ton of money by using my 25% off total purchase amount coupon at Michaels when buying the paper, stripwood and foamcore. I have been rattling this around in my head for a couple of days figuring out how to put it together and I finished this in a day and a half- if I had had all of the materials I needed to start with it would have been finished quicker. The design of my dioramas can change from the original plan I have in my head once I start shopping for materials and doing furniture placement. 

I hope you enjoy this tutorial. I am hoping to do another for the opposite wall as these walls will be used in my Shogun steakhouse diorama too. Right now, I am doing a simple Japanese home diorama to celebrate Hinamatsuri, and the Shogun restuarant will be a more involved diorama.

Yes, I admit I love GI Joe...

I am old enough to have very fond memories of playing in the sandbox with the kid next door and his GI Joe's, along with my Malibu Barbies- Ken, Barbie, PJ & Skipper. The 60's and early 70's are when the 12 inch GI Joe was at his peak- and the kid next door had it all- the mummy terrain vehicle, the command control center, all of that neat stuff that Joe had back then. He also had the 'fuzzheads' as they are referred to. My Barbies preferred dating the Joes next door as they had uniforms and a 'real' job- Ken even in my childish perception- was a bum- and a beach bum with no tuxedo, no suits, just swim shorts and a surfboard. How could he take Barbie out to the swanky dinner in that?? lol..

I had purchased a 40th anniversary Joe previously last year off of Ebay, a sailor one, but was very displayed with his body- it was not all like I remembered. Doing my research that is because Hasbro changed the wondeful vintage body on Joe so I had this ham fisted incredible hulk joe. He has served as a filler person in the doll town, and recently I used him to display the sushi I made.

This Photo on my Flicker album has already, since being uploaded on February 15th, 34 favorites and 6,894 views!!!!  Entitled Joe serves Sushi' I am still trying to figure out what is so special about it!!

Closeup of the Hasbro GI Joe and my sushi. 
I definitely do not think it is my attempts at Sushi in polymer, as this was a first try. You never know what people will go over the top for when you upload pics to your flicker albums.
But back to GI Joe...yes this is the 50th anniversary of GI Joe's appearance in the toy world. Hasbro, which originally manufactured it, has no 50th anniversary doll- mostly just the toy conventions do with the convention dolls. The collectors are sadly lamenting it, and as a doll collector, we were virtually pelted with an array of 50th anniversary Barbies.
I joined the GI Joe Club on Saturday, and you get two choices of what 'figure' size you would like- I chose of course the 12 inch. 
Joining the third class domestic I paid $44 and I was also able to purchase the 
2008 club exclusive Man of Asia for $23. GI Joe club is having an incredible sale on some of their exclusives in their shop- you have to be a member to buy them- for 50 days and something new shows up on sale virtually every day. You also have forum access and get a newsletter /magazine (are you listening Mattel?) The club exclusive dolls are made with a similar vintage body, great for posing. If you join by March 16th, your club exclusive will automatically be sent to you free. So after March I have another Joe joining my herd.
I also have joined the one GI Joe forum called The Trenches and learned something 
new, guys view these dolls as action figures, not dolls, dude. While doll collectors and diorama artists go for the nitty gritty on reality- only a portion of the Joe collectors go for that- their fond memories revolve around playing in the sand box with mounds of natural scenes saving Joe, having him parachute into a fox hole, and so on. (I admit to liking that as a little girl too...lol ..what can I say- I am and was a born miniaturist!)

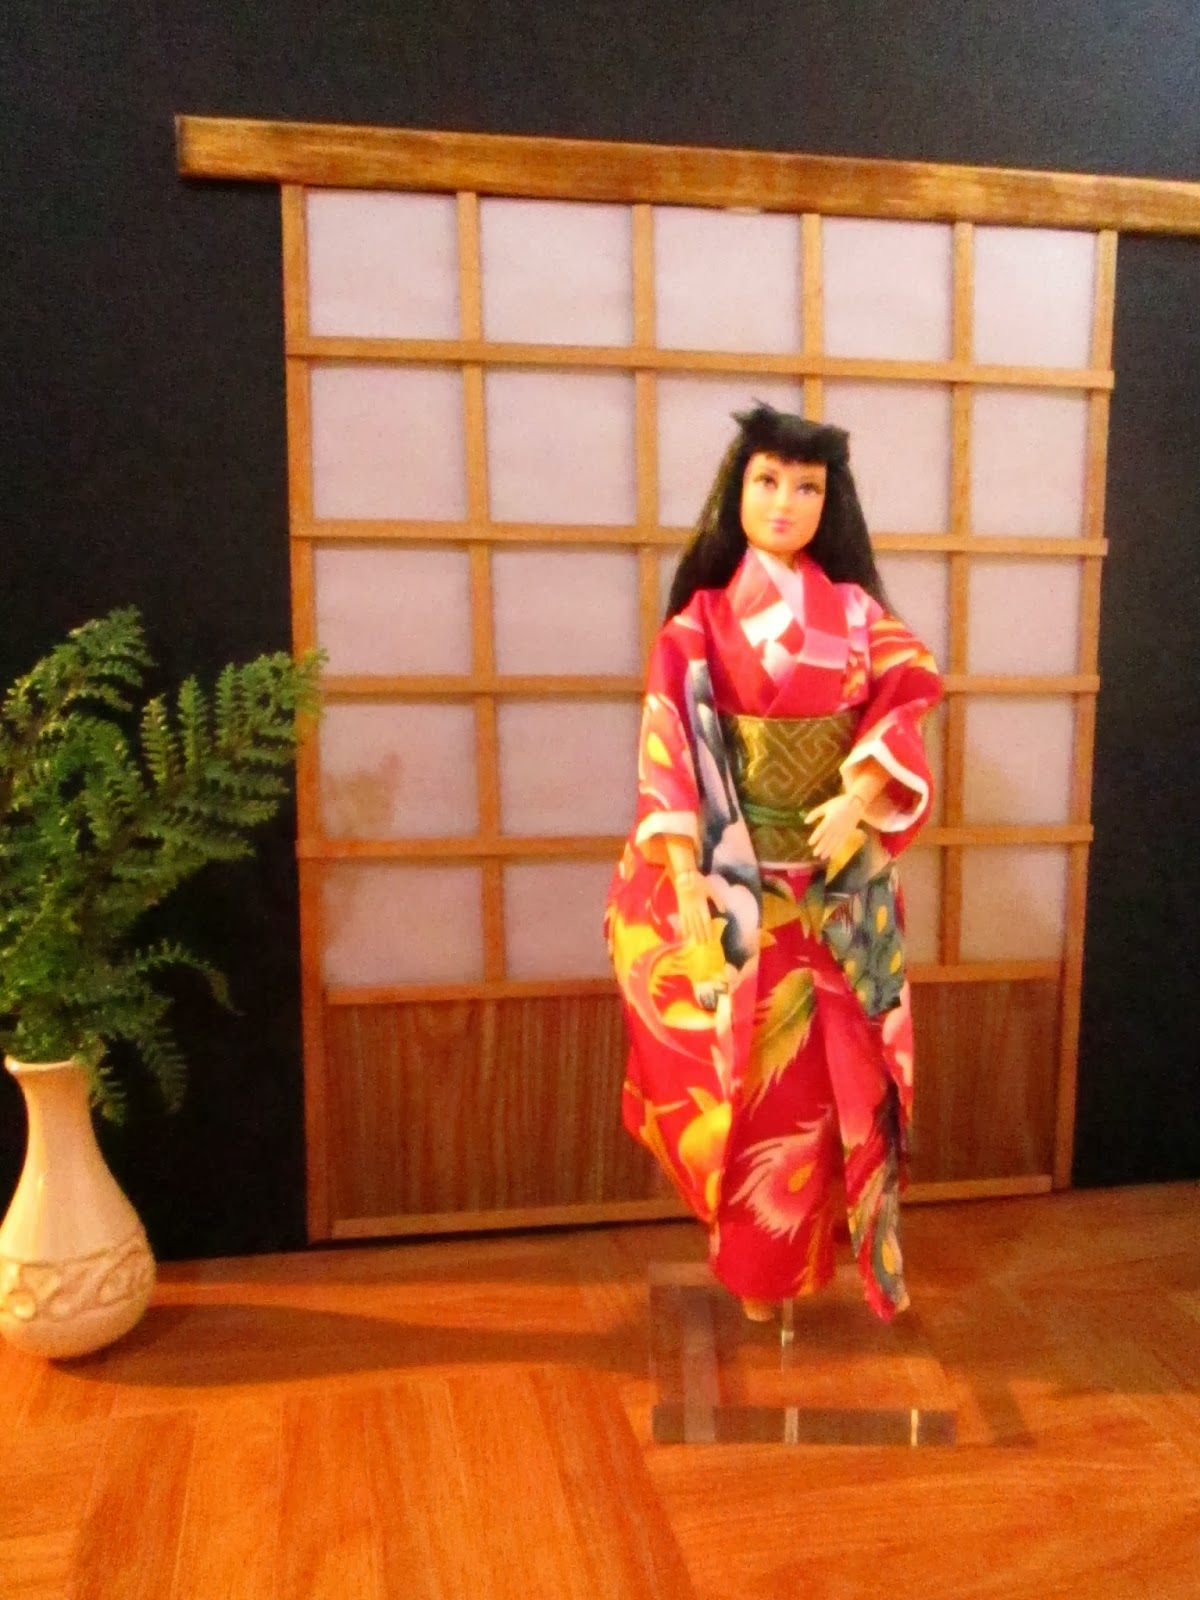
A word of warning- the Club does not ship quickly. A look at the club forum and the Trenches and some people ordered two or three weeks ago and were JUST receiving their orders. I am hoping my Man of Asia gets here soon as I want to start working on my Asian family to be celebrating Hinamatsuri on March 3rd. Hinamatsuri is the Dolls' day or Girls day Festival in Japan. I have the Hinamatsuri set and want to work on a Japanese diorama for the month of March. My Man of Asia will be a Shogun chef- in a Japanese steakhouse. He will probably be married to my Love the One Kyori and I am hoping to acquire a small doll to be their daughter. Kyori's cousins who are sisters- Sachiko and Hanoko, (Happiness and Flower- named after Miss Happiness and Miss Flower in Rumor Godden's famous book about two little Japanese dolls) will also work in the restuarant as well. Hence, that is my reasons for making sushi. 
I have put a hold on my Chateau project for right now. I have acquired a Kyu for a body swap for my Emmett who will be transformed into Louis, so Marie Antoinette & the Princesse de Lamballe have been put away for awhile I work on the Japanese diorama, which I have wanted to do for quite a while. Yesterday was a wonderful day and I went shopping for supplies and materials, I hope to have enough done to get some pictures today. 

Thursday, February 13, 2014

Sushi & Snow...

I had an enforced snow day today...which meant not much was done in the office. Many of you may not know but miniatures, and doll furniture and my own creations that I sell through King William Miniatures and my Ebay store Pumpkin Hill Studios are not the only two businesses I run...I also handle the office part of my husband's boiler company, 
LeoPaul & Associates . My husband has worked in the heavy industrial and commercial industry of boiler maintenance and repair and when he started his business, it was a stretch to go from packing doll furniture to writing invoices for boiler repairs and parts. Since January has been so cold and full of snow and it has continued into February, our business has picked up and so have my frenetic days of tracking parts, dealing with trucking and shipping companies, vendors and a myriad of other details. While it is fulfilling, it can be somewhat frustrating and mind numbing..to make a long story short, I got a reprieve today because of the torrential snowstorm we have been having along with 'thunder-snow'- yep a thunderstorm while it snows...in Virginia!
Here is what I worked on today- just because I was bored and needed a break...Sushi!


Above is a photo I took through our den window, hence the screen. That is our yard and part of our driveway--and the road. Yep, you can't see the road because it's covered in snow and ice...on the other side of the road is a field...which looks like whiteout conditions. 
Below are some pictures I did in the kitchen with my hybrid Barbie basics-Hanoko  she is on a LIV doll body- My IT direct - Sachiko, and Love the One Kyori who hasn't received very much camera time but was glad to be with her cousins...I need more Asian dolls for an Asian themed family. I really want to do a Japanese steak house type of restuarant and have some plans for that diorama theme...Hinamatsuri is coming up soon on March 3rd.


The chopsticks are toothpicks cut in half and sanded. I hope to make some more of these items and perfect them a bit. Today was a huge stress relief and I loved it. Enjoy!

Monday, February 3, 2014

More Chateau project diorama spam...


More Chateau project picture spam....this time, you may notice the diorama looks a little different. The floor is a 24 w x 36 inch long piece of cardboard, with the Home Depot wood tile squares stuck to it- they have the peel and stick backs. This makes the floor more in period to look like parquet flooring so popular at the Petite Trianon and in the private appartments of Versailles. The doors open a little smoother on this floor too. 
Though yesterday was the Superbowl and I thought of staging a superbowl party for my boys, I could not get it together enough figuring out clothing and props, so that may be for another picture time. If you are on Pinterest please be sure to follow my board on this ongoing project! I also have other boards- almost over 60, with the most interesting 1:6 scale dioramas and dollhouses I can find. I love Pinterest, I secretely call it my electronic hoarding for ideas and inspiration. 
Thank you!

Saturday, February 1, 2014

Cheateau project: 1:6 scale French doors- Part 2 & a tutorial


Previously, in my post about 1:6 scale French doors  I showed you how I cut french doors to scale out of foamcore.  I have skipped over the laborious part of covering the edges with white contact paper to give the doors a 'smooth' look and not like they are carved out of foamcore. Today I show you the finished doors, hinged, within the 1/2 inch foamcore wall. 
Today was a great day for me as it was warm- all the snow is melting, and I finally finally had time to go and buy the supplies to finish this part of the diorama. I went to my local dollhouse shop Belle's Exclusives- they have been great people and always have a variety of items. I purchased the doorknobs and hinges from them, as well as some other items that will show up later as this diorama comes along. For those of you with a local dollhouse shop nearby- please remember to patronize these tiny specialty shops. Many 1:12 scale components can be used in 1:6 scale and the owners do this for a living, so they can usually advise you for the larger scales. I found many items for this diorama, but will be going back later after I get some things figured out.
Then I went onto Michael's for more foamcore- 2 sheets of 1/2 inch and 2 sheets of 3/16ths ...be sure to use your 40% off coupon. I also purchased some $1 picture frames and wood embellishments as well. Now onto the tutorial!
1st- after your doors are cut out- recap measurements- 15 inches high, 5 1/2 inches wide. Cutout your windows, at 2 inches high 1 1/2 inch wide on each one. 
Cover the edges of every window with contact paper cut to fit. Then cover the sides, and the top, then the middle with strips. You want clean lines.
2nd- Onto the 1/2 inch foamcore for your wall. First, glue your doorknobs to the doors. Use a doll to figure out where their hand would hit on their height.
Place the doors in the center and draw around them.

3- Now you are going to carefully cut out the door part you have drawn. Do this as evenly as possible. Afterwards, there will be some shards of that foamcore innards that come out all over the floor. Sand them off, and then cover all three cut sides with white contact paper so no innards bleed out or through.
After that- you are going to do your hinge placements. I placed my hinges on the doors and doorframe after the door part was cutout, and drew little holes in the hinge part where the screws go. I then took my exacto knife and 'drilled' holes for the screws to go into.


I glued the hinges down when I put them onto the foamcore, then pushed the screws into the holes. You may have to watch, as the doors are thin -3/16th foamcore, so the points may slightly come through if the screws are too long. I used regular tacky glue for this. I also used scrap pieces of foamcore underneath the doors to give them some height while I adhered the hinges, due to the difference in the thicknesses of the two foamcores used for this project, it really helps. 
Now onto some photos as Marie Antoinette enjoys her new doors!


Here is a quick picture to show that the doors work with the Fashion Royalty hommes too!
Enjoy the tutorial and I hope you have fun with these doors!